Introduction Last updated: 25 July 2025
Welcome to ReadyDesk documentation and thank you for choosing ReadyDesk.
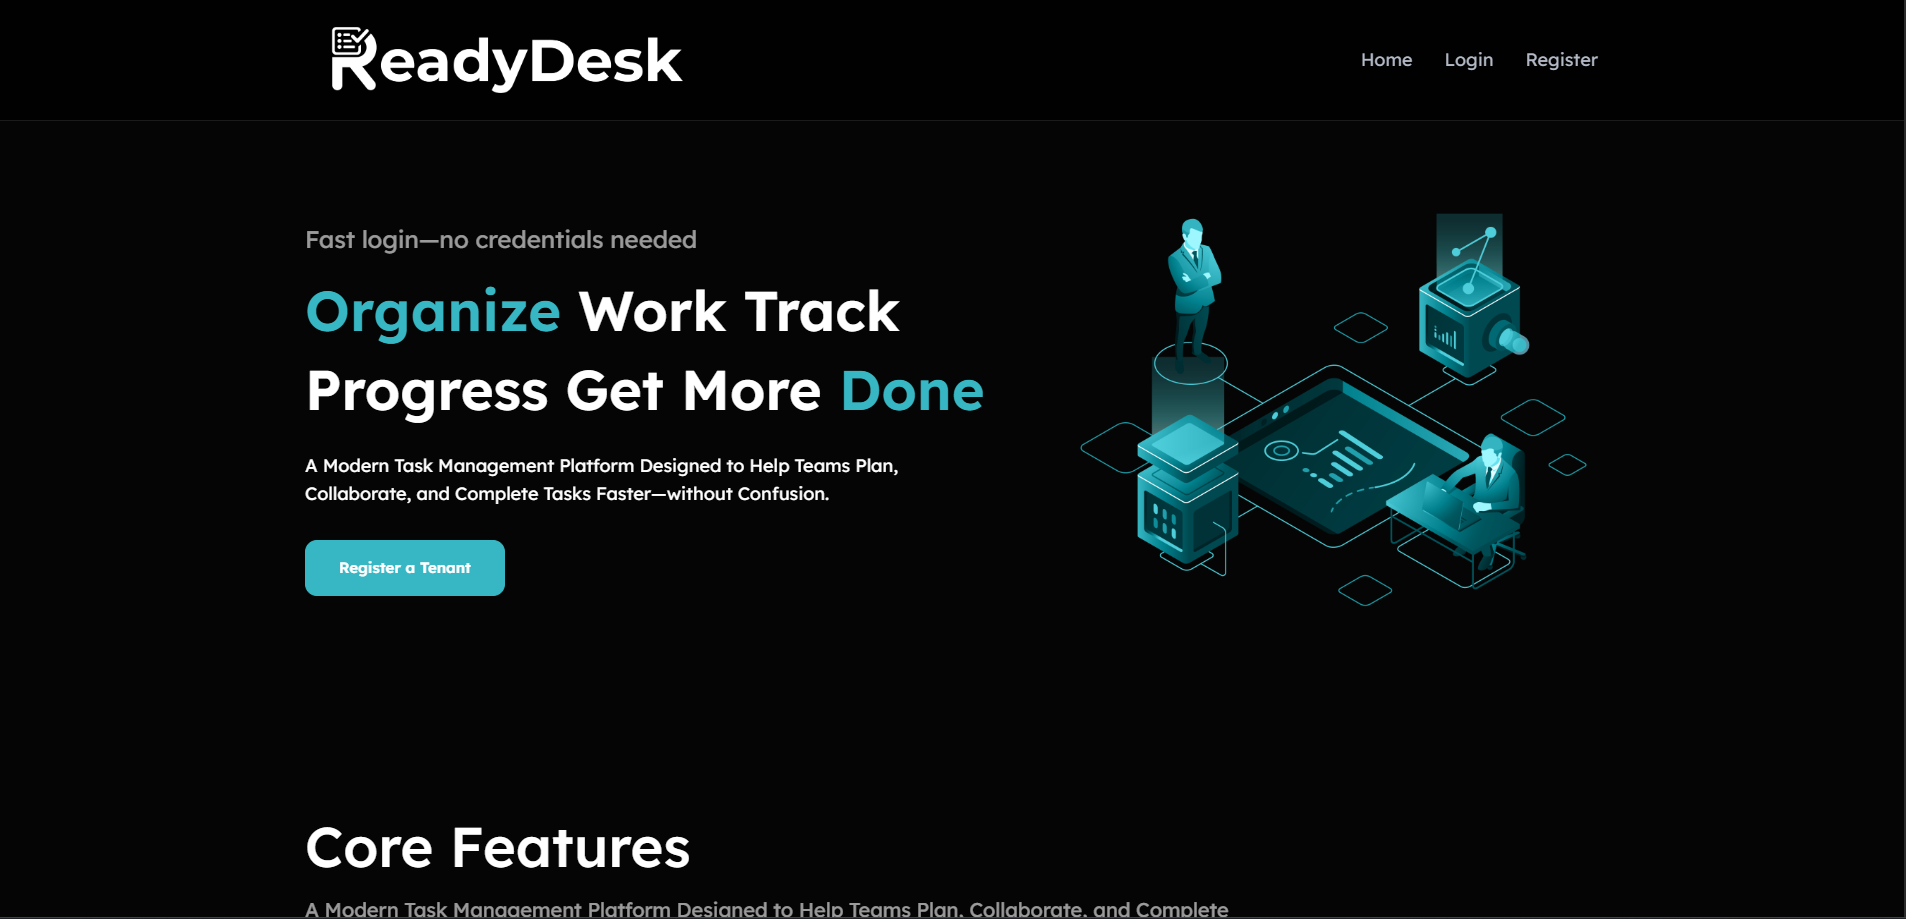
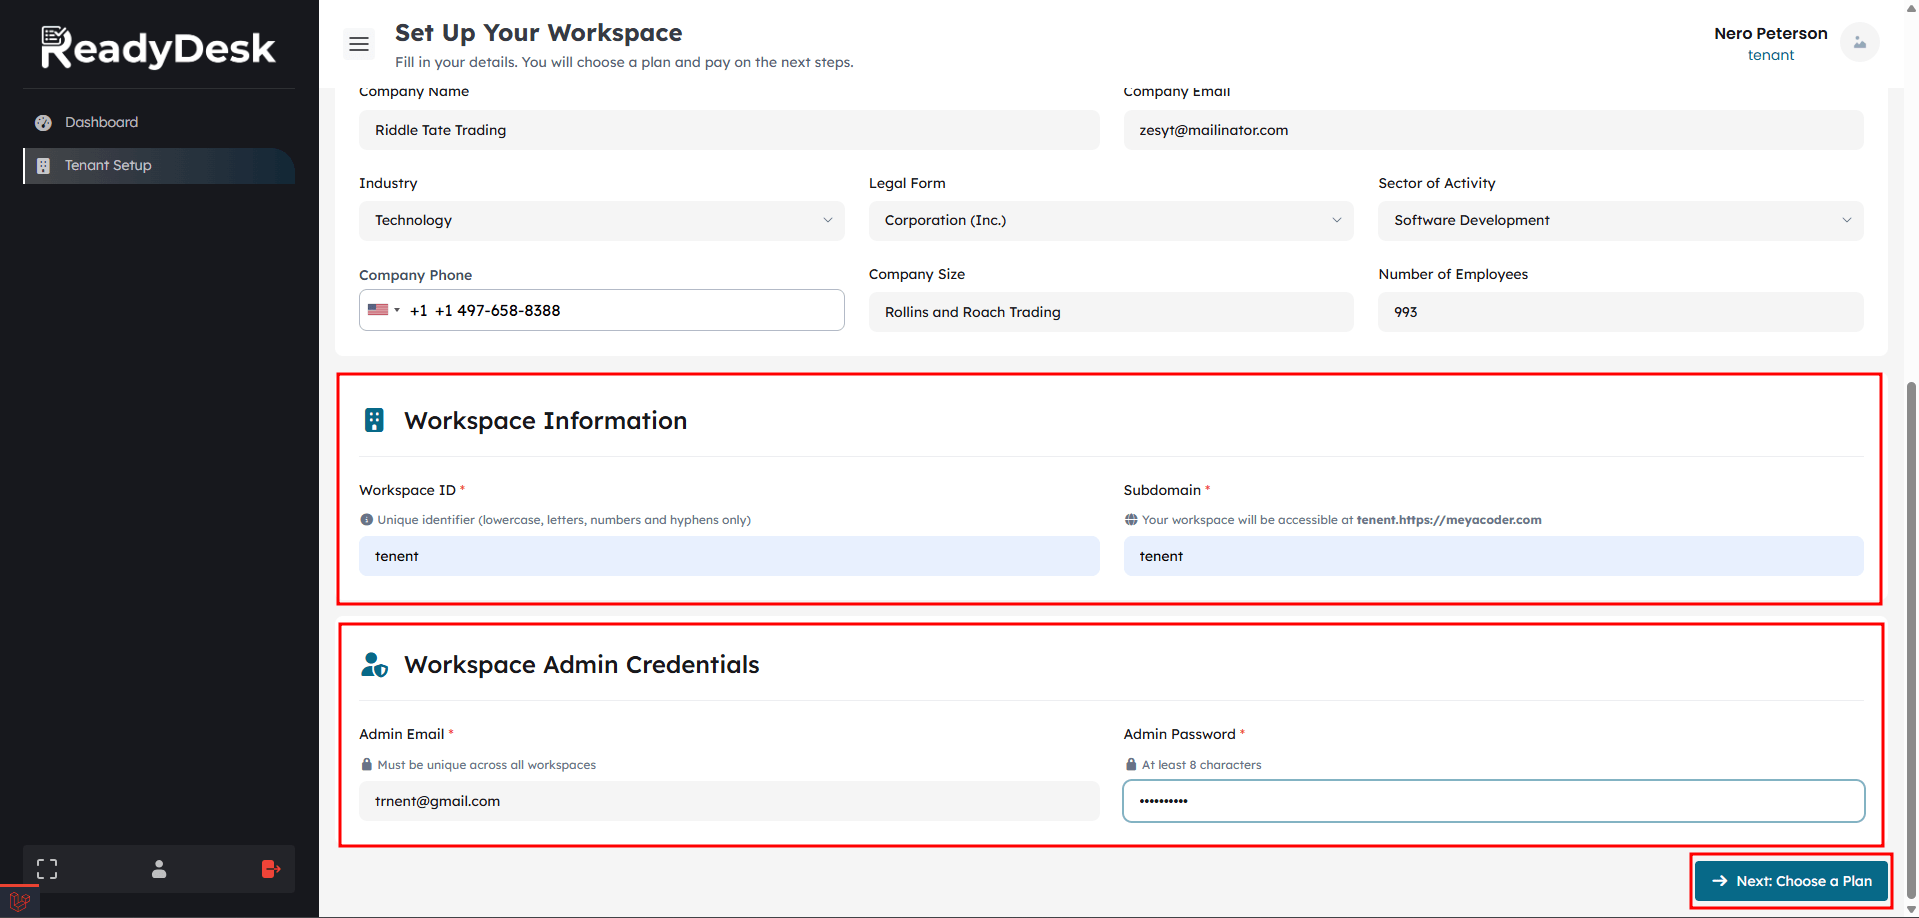
ReadyDesk is a complete CRM, HRM, and Project Management system with a powerful admin dashboard designed to help businesses manage clients, employees, and projects efficiently from one centralized platform.
We sincerely thank you for purchasing our product on CodeCanyon. Your trust in our offering is highly valued.
- Version: 1.0.0
- Author: Razinsoft
- Created: 15 March 2026
- Updated: 18 March 2026
If you have any questions not addressed in this help file, please feel free to reach out to us via the Item Item Support Page.
System Requirements 1.1
The required specifications for the Admin Panel.
PHP Version: 8.2.x
PHP Version 8.2.x must be installed on your system to
proceed further.

MySQL Version: 8.x
MySQL Version 8.x must be installed on your system to
proceed further.
Laravel Version: 10.x
Laravel Version 10.x must be installed on your system to
proceed further.

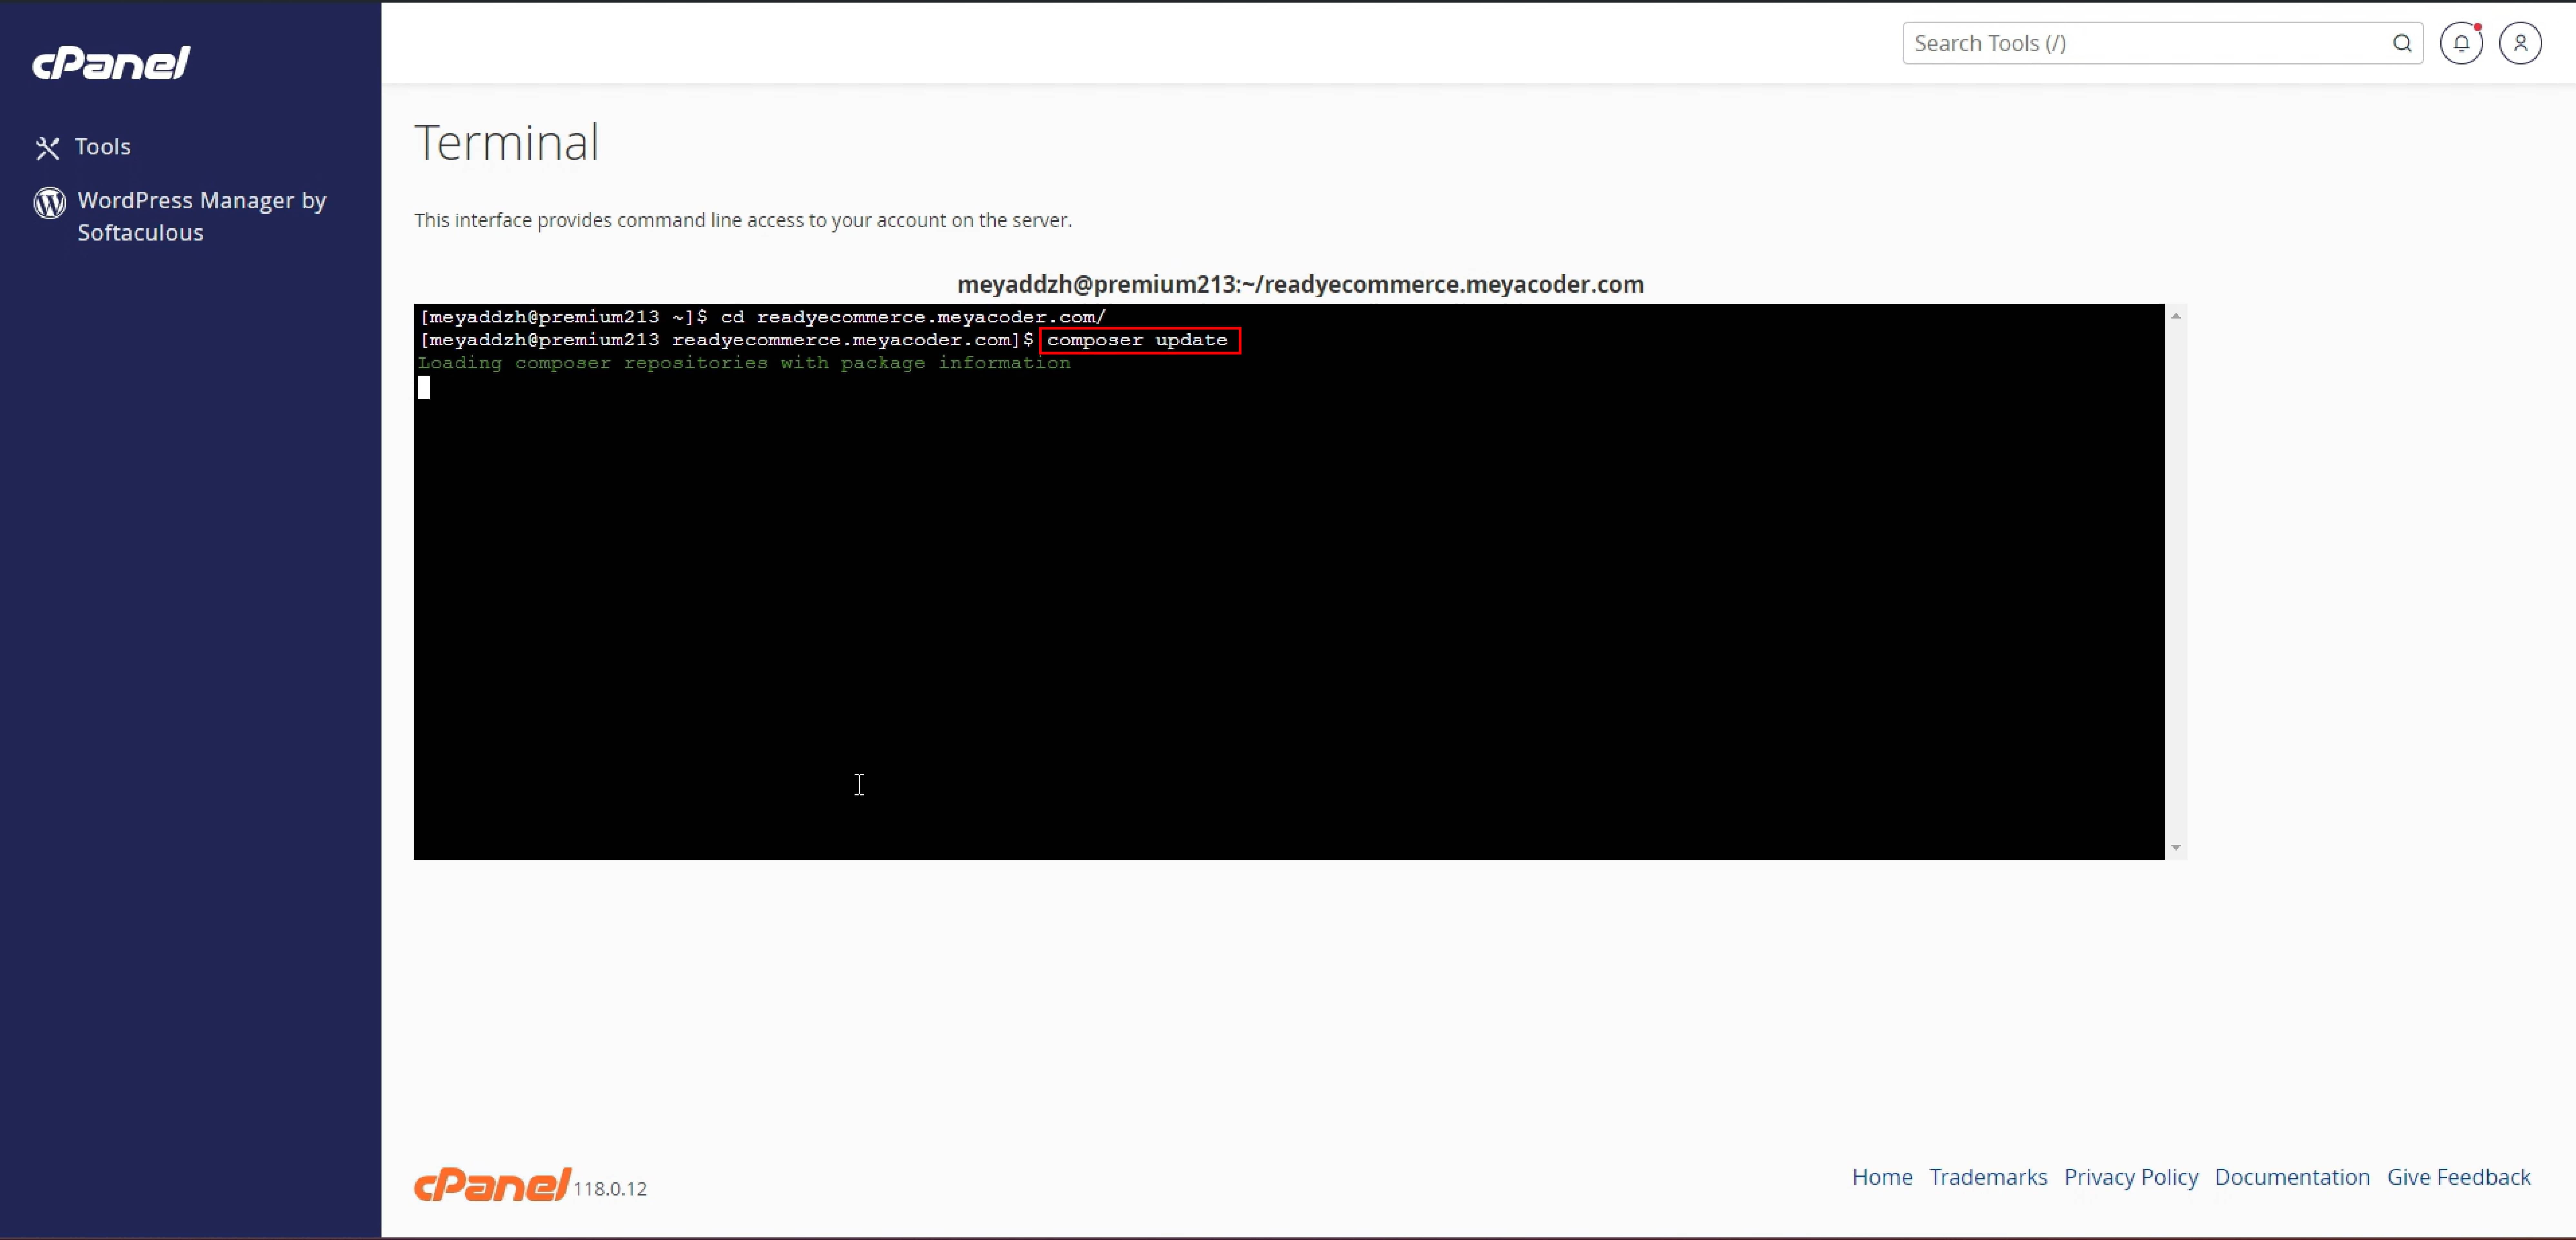
Composer Version: 2.7.x
Composer Version 2.7.x must be installed on your system to
proceed further.
The required specifications for the Flutter App.
JDK Version: 21.0.6
Java Version 21 must be installed on your system to proceed
further.
Flutter SDK: 3.38.5
Flutter SDK 3.38.5 must be installed on your system to
proceed further.
Dart Version: 3.10.4
Dart Version 3.10.4 must be installed on your system to
proceed further.
Android SDK: 36.1.0-rc1
Android Version 36.1.0-rc1 must be installed on your system
to
proceed further.


.jpg)
.jpg)
.jpg)
.jpg)
.jpg)
.jpg)

.jpg)
.jpg)
.jpg)
.jpg)
.jpg)
.jpg)
.jpg)
.jpg)
.jpg)